Showing posts with label Beanie. Show all posts

July 5, 2025

Simple Beanie

As I mentioned in my previous post, knitting was a great way to pass the time, and I wasn't feeling bored sitting in a small space with restricted movement. I love how both beanies turned out! Here is one of them.

June 14, 2024

A unique stylish beanie to add to your wardrobe.

This beanie will surely be a stylish and adorable addition to any outfit. The contrasting crochet edge adds a unique touch, and the fur pom-pom and crochet flower embellishments give it a fun and playful flair. The ribbed design ensures a snug and comfortable fit, making it a practical accessory for those chilly days. With just a few simple techniques, you can create a one-of-a-kind beanie that will keep you warm and stylish all winter. So, grab your yarn and needles, and get started on making this cute little beanie today!

In this tutorial, I'll show you how to create a cute and cozy beanie, starting with an I-cord and incorporating crochet stitches for a special touch. 

To begin, create an I-cord using a contrasting color and close it in the round using a slip stitch. 

Then, switch to stockinette stitch and knit 20 rounds before transitioning to a 2 by 2 ribbing pattern. 

To finish off the beanie, decrease by knitting two knit stitches together and purling two purl stitches until only 8 stitches remain. 

Cut the yarn, weave it through the remaining stitches, and secure a fun fur pom-pom on top for a trendy look. 

For an extra touch of charm, sew a crocheted flower onto the side of the beanie and fashion a ribbon from the excess I-cord to add a playful detail. 

With these simple steps, you can create a cute and cozy beanie that will make you look fashionable and warm all season long. 

So gather your materials, follow the instructions, and get ready to rock this adorable accessory! Happy crafting!


April 27, 2024

Araucanía Atacama and Schachenmayr Nomotta Yarns

Many years ago, when I was the co-owner of All About Yarn in Azusa, we acquired various colors of Araucanía Atacama yarn. This yarn boasts beautiful hues and delightful variations. It’s made from 100% Alpaca and is recommended for use with a needle size of 7, achieving 18 stitches per 10 cm. Personally, I adore working with this yarn.

I also used Schachenmayr Nomotta Extra as a complementary yarn. Schachenmayr yarn hails from Germany and is crafted from 100% Schurwolle (New Wool). It requires needle sizes 4 and 5 and produces 24 stitches per 10 cm.

Both yarns have their unique qualities, and I appreciate the creative possibilities they offer.

April 21, 2024

Cable Lace Beanie in Blue

I knitted this beanie using the same pattern as the previous one, which I affectionately named the ‘Cable-Lace Beanie with Pom-Pom.’ The key distinctions between the two lie in the yarn type, color, and band.
For the red beanie, I employed 5 rows of stockinette stitches. In contrast, the blue beanie features 15 rows of K1 and P1 ribbing. Despite sharing the same central pattern, each beanie possesses a unique charm due to its distinct yarn qualities and manufacturers.
The red beanie is crafted from Loops & Threads Impeccable yarn, while the blue one utilizes Knit Picks Brava Sport Weight Yarn in a lovely shade of blue (Sky). You be the judge: Which one do you like better or prefer?

April 18, 2024

Elegant Silky Beanie

Silk yarn is a luxurious and exquisite type of yarn that has been treasured for centuries. I received this yarn as a gift and am very pleased with how smoothly it knits up and how soft it feels on the skin. The yarn has an amazing shine to it.

April 12, 2024

Cable-Lace Beanie with Pom-Pom


Pictured Beanie was knitted in the round on a 16-inch circular size 7 needle, yarn used:
Loops & Threads Impeccable, 285 yds/4.5 oz
Size 7 (4.5 mm) or size needed for gauge
Cable needle and 4 sock needles for top decrease

GAUGE SWATCH
20 sts and 26 rows = 4" in stocking stitch.

STITCH ABBREVIATIONS:
C4F = Slip the next 2 stitches onto the cable needle and leave it in front of the work. Knit 2 stitches, then knit 2 stitches from the cable needle.
Sl1P = slip next st purlwise.
C4F = Slip 2 stitches on the cable needle and hold it in front of the work
Yo = yarn over

Start your beanie by casting on a multiple of 10 stitches,
100 stitches for child size and 120 stitches (using size 8 needles, Adult size only). Close the stitches into a circle, making sure not to twist the stitches.
Knit 6 rounds
Purl 1 round

Panel Pattern sequence of 8 rows:
 
1st round: *P2. K4. P2. K2tog. yo.* Rep from * to *
2nd round: *P2. K4. P2. K2.* Rep from * to *
3rd round: *P2. K4. P2. yo Sl1. K1. psso.* Rep from * to *
4th round: *P2. K4. P2. K2.* Rep from * to *
5th round: *P2. K4. P2. K2tog. yo. * Rep from * to *
6th round: *P2. K4. P2. K2.* Rep from * to *
7th round: *P2. C4F. P2. yo. Sl1. K1.* psso. * Rep from * to *
8th round: *P2. K4. P2. K2.* Rep from * to *
These 8 rounds structure the Panel Pat.

For child size work the Panel Pattern 5 times more, adult size 7 times more.
Decrease Round 1:
As stitches appear: *P2tog, K2tog, twice, P2tog, K2tog,* Rep from * to *
Decrease Round 2: 
same as Round 1, purl the purl stitches together, knit the knit stitches together
Continue in that fashion until you have 10 stitches left. Cut the yarn, leaving a long enough tail to sew on the pompom. Pull the yarn through the remaining 10 stitches, secure the stitches, and sew the pom-pom on, covering the top of the beanie.

April 7, 2024

Cable Beanie with Pom-Pom

The project outlined is a simple beginner's knitting project that involves using a 16-inch round needle and bulky yarn. To begin, using 5 mm knitting needles and cast on 80 stitches or any number that is a multiple of 6. Join the stitches into a round and place a marker.

For the Ribbing,
Round 1 instructions: [k4, p2] - repeating until the ribbing reaches 2.5 to 3 inches in length.

Moving on to the cable pattern, follow these steps:
- Round 1: [C2F, p2] - repeat until the end, slipping the marker
- Rounds 2, 3, and 4: [k4, p2] - repeat until the end of the round, slipping the marker

Continue repeating Rounds 1-4 until the hat measures 8.5 to 9 inches, ending with Round 2.

To shape the crown of Cable Beanie:
- Round 1: [k2tog, k2tog, p2tog] - repeat until the end of the round, slipping the marker
- Round 2: [k2tog, p1] - repeat until the end of the round

Finally, cut the yarn leaving a small tail and thread it through a large yarn needle. Pull the tail through the remaining stitches and sew the pom-pom on top of the beanie. Weave in the ends to finish the project.

April 3, 2024

Easy to Knit Wool Beanie for Beginners

Today’s Knitting Circle was a delightful gathering. I completed my most recent creation, and the ever-gracious Ginny showcased it for everyone’s admiration. 😊

April 1, 2024

Fair Isle Cable Beanie/Hat

It was raining so much the other day, and Little Lu hates the rain so much that she won't even walk. I had to carry her outside to pee, and she ran right back in. I can't blame her; it's cold and wet out there.
I'm sitting on the sofa in front of the fireplace, and I just finished knitting a beanie/hat using leftover Fair Isle yarn from a previous project.
I've got a new book, Yeap, another one. "The Beach Street Knitting Society and Yarn Club is a Novel about a newly widowed mother of two who leaves London to take over her grandmother's wool shop.


January 7, 2024

First Project in 2024

The Flower Beanie is my first project of 2024, which I started on my way back home from Germany, while on the airplane. It's a simple white beanie with a "fancy" touch featuring crocheted flowers and leaves.

January 3, 2024

LAX - FRA Flight Beanie

While traveling from Los Angeles to Germany in December 2023, I had plenty of time to knit. The beanie was the end result of my efforts. I used leftover yarn from a previous project, but unfortunately, the yarn had no labels.


November 18, 2023

New Creations - Sirdar Peru Shawl II

I love the feeling of starting a new knitting project, but sometimes, the pattern can be more challenging than expected. When that happens, I don't get discouraged - instead, I get creative! I put the pattern aside and start "knitting as I go," adding my own ideas and inspirations to create a unique and beautiful piece. It's amazing how a basic pattern can be transformed into something completely new with just a little bit of imagination and know-how. I love the process of taking an old pattern and giving it a fresh new look, and I can't wait to show you the final result of my latest creation! 
Yarn: SIRDAR PERU Naturals, Color: 0555 Pico, 64% Wool, 31% Acrylic and 5% Alpaca.

November 15, 2023

Getting ready for cooler weather

For the beanie, I used Ella Rae Amity Yarn, color # 24, which provides a generous yardage of 200 yards (183 meters) and comes in a unit weight of 100 grams (3.53 ounces). With a gauge of 20 sts = 4 inches and a recommended needle size of US 8 - 5.0 mm, this yarn is versatile and easy to work with.
The beanie pattern is simple yet stylish, featuring a 360-degree rim border that adds a unique touch. 
For the shawl, the knitting process involves working in length and then seamlessly joining both ends together. The yarn used is German Schewe Kir Royal fiber, which adds a silky texture to the finished product. The "bumps" in the yarn further enhance its visual appeal, making the shawl eye-catching. Around the shawl's edges is a stitch pattern in double crochet. 

October 7, 2023

Klara Bella Beanie

Karabella is among my favorite Merino yarns, combining its delightful bounce with the inherent softness of merino wool for easy and quick knitting. The beanie is knitted in stockinette stich and the pattern used is from the pattern book and sadly I don't remember which one. I knitted this beanie and the little matching jacket back in 2008 for Lara, a friend's daughter. 

September 27, 2023

Knitting a Bonnet, while creating a unique pattern sequence

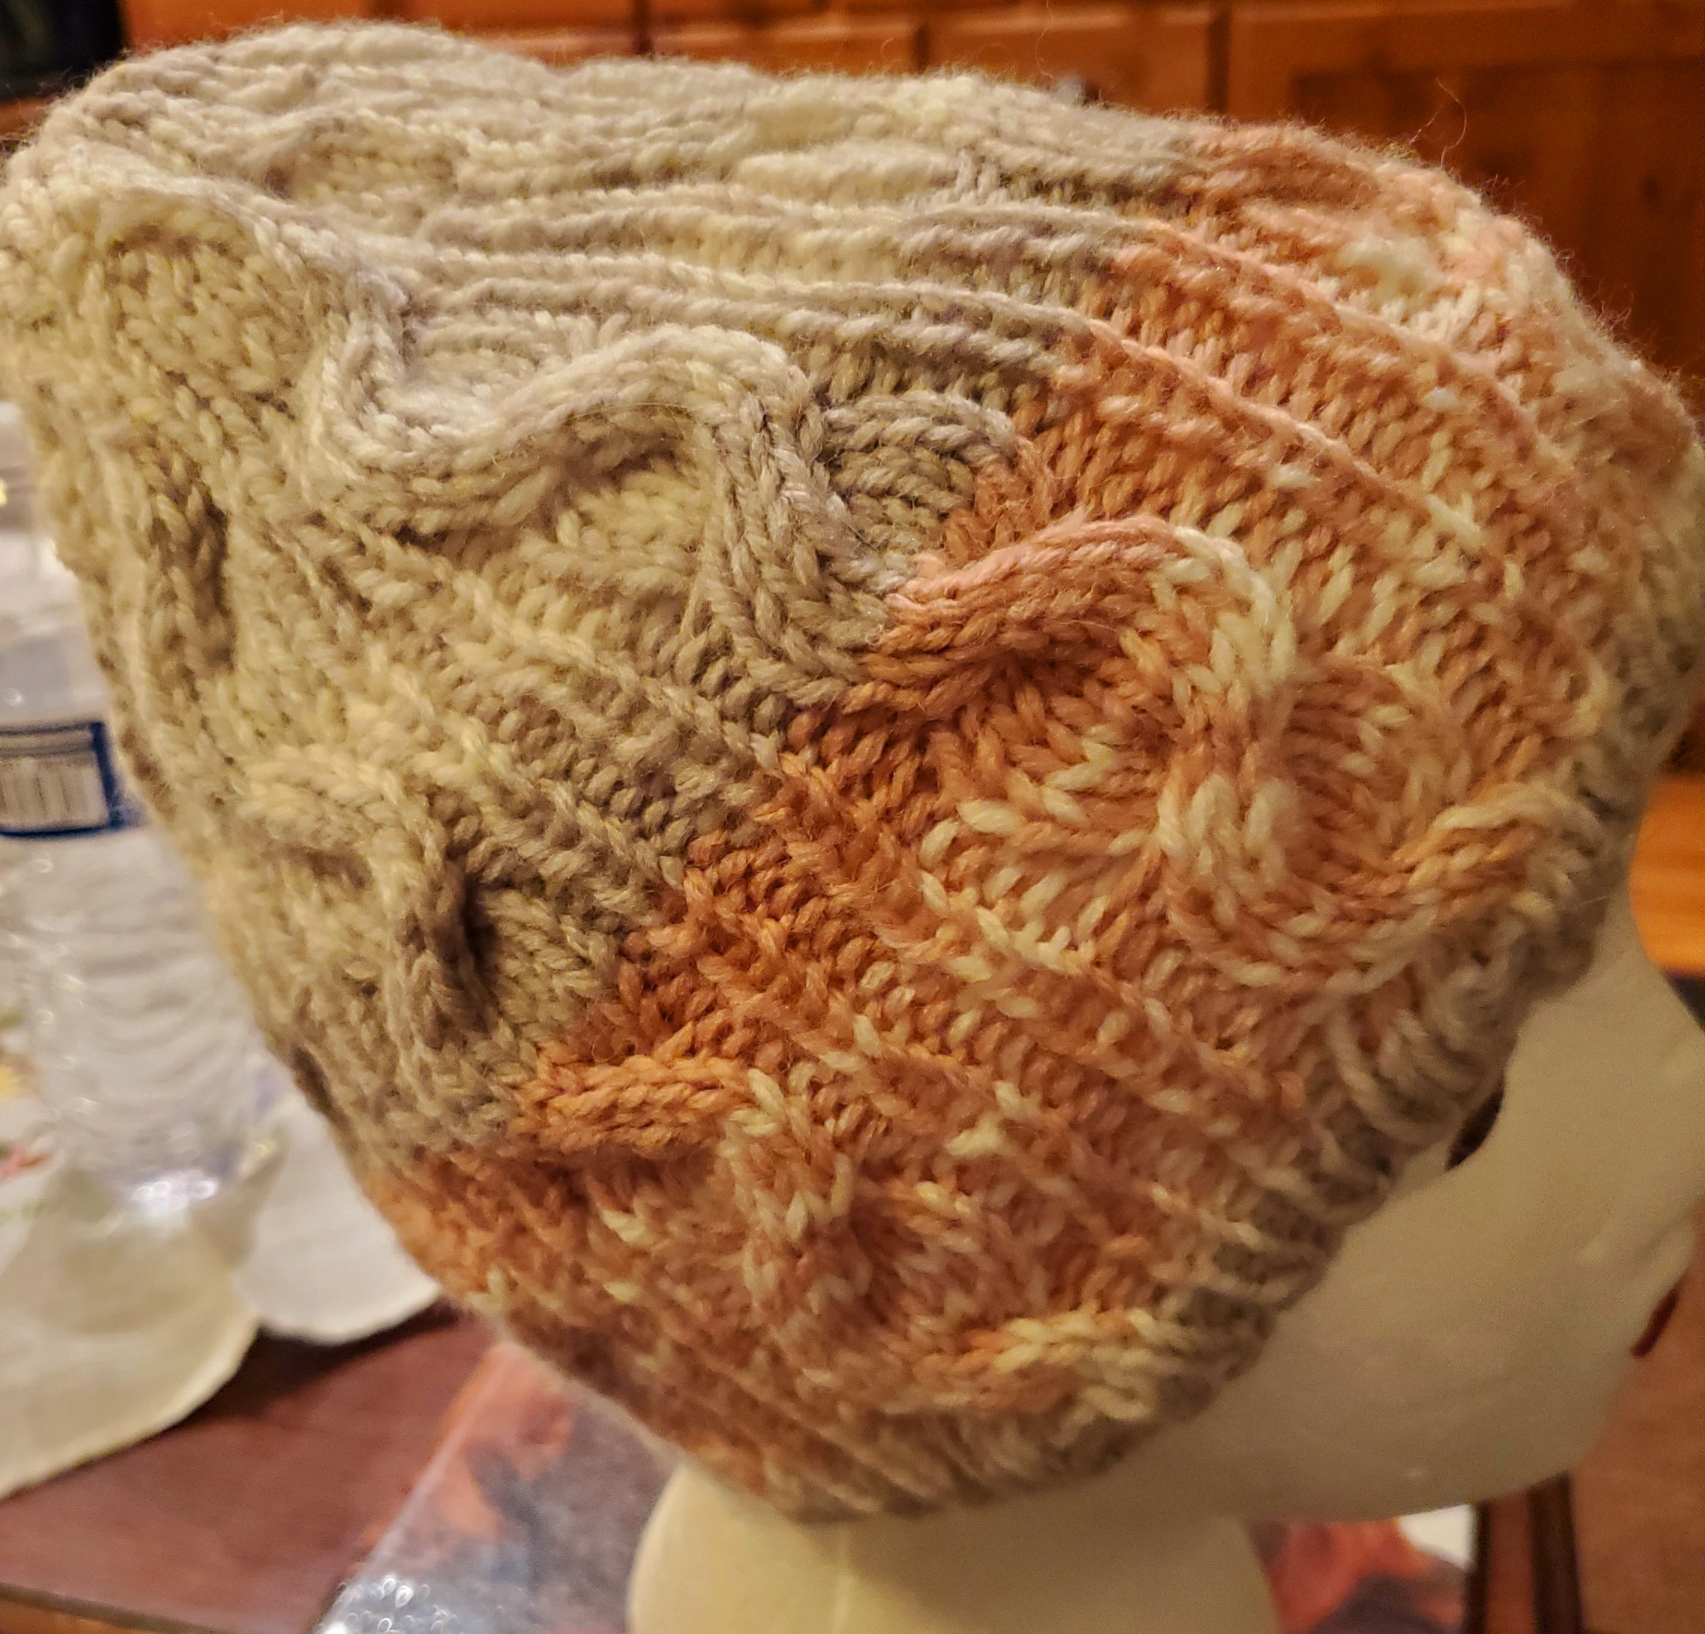
You're familiar with this scenario, right? You come across a project – maybe a beanie, a sweater, a scarf, mittens, or a shawl – and immediately recognize it as a fantastic pattern. So, you snap a picture of it and save it in your stash folder, labeled "Future Knitting Projects." That's precisely how I operate. Now that I'm partially retired, I have ample time to indulge in what I adore: bringing various patterns from my "stash" folder to life. Reading patterns aren't a significant hurdle, given that countless books and online resources document them. Recently, I embarked on a knitting venture involving a beanie, employing a technique known as "knit in the stitch below." It involves two colors and incorporates a combination of c4f, c6b, and c4b in the third row, followed by c4f, c6f, and c4b in row 7. Below, you'll find an image of the cable pattern I've begun for the beanie's brim.

Start with a provisional cast-on of a crochet chain long enough for 25 stitches,

Row 1 (RS) : K1, p1, k4, p2, k9, p2, k4, p1, k1
Row 2 and ALL EVEN Rows: P1, k1, p4, k2, p9, k2, p4, k1, p1
Row 3: K1, p1, c2b, p2, c6b, k3, p2, c4b, p1 k1
Row 5: Rep. Row 1
Row 7: K1, p1, c4f, p2, k3, c6f, p2, c4b, p1, k1

Repeat rows 1 through 8 until your project reaches the desired length. Be sure to measure the head circumference of the intended recipient of the beanie.

September 13, 2023

Knitting in Details


Sometimes, you come across a project that captivates you with its appearance and intricate details. It sparks your desire to knit it using yarns from your existing collection. As you begin knitting, you may find that some of the pattern's elements could be enhanced through modifications. That's precisely what I did with this particular hat. Instead of following the original pattern to the letter, I opted for a picot cast-on edge, employing the cable method. The pattern includes delicate eyelet rows, complemented by the predominant stockinette stitch. To create this hat, I utilized a size 6 needle, a 16-inch circular needle, and Queensland Collection's Merino Spray, a 100% extra-fine Merino Wool yarn. My resulting hat pattern bears little resemblance to the one I initially admired in "Knitting in Details." I've introduced substantial changes to both the pattern and the color scheme, to the extent that the two hats share only the cast-on edge and the eyelet row in common.

August 21, 2023

Araucania Magallanes Hand Spun

This is a beret made of Araucania Magallanes, Nature Wool is 100% wool yarn. It is kettle dyed which gives the beautiful blend of colors along the length of the skein. It's thin/thick spinning has the look of hand-spun technique and gives a beautiful texture.

August 14, 2023

Mütze (Beanie) A Beginner's Project

Knit a-longs are a fun way to gain knowledge and experience and make new friends!
I found a beanie on the web knitted by a lady named Ursula Barth. I liked the color, and the easy way it was designed. I took a picture of it and knitted the pattern as I saw it.
Cast on 80 stitches, and K1, P1 ribbing,
About 12 rows in seed stitch Row 1; k1, p1, Row 2; p1 k1, then about 14 rows in stockinette stitch and then again, a few rounds in seed stitches. I knitted 6 rounds, and then started to shape the “crown” by knitting 5 stitches and knitting the next 2 stitches 2tg, twice, doing it twice in an arow will keep the seed stitch pattern flowing. After a decrease row I knitted 1 row then I again knitted a decrease round the same as before. The last 10 stitches on the needle I cut the yarn and used a needle and weaved the yarn through the stitches. After that crocheting the three flowers and sew them on as it was shown on the original picture. It took me about 4 hours to complete. I used needle 8 for the ribbing and needle size 9 to knit the body of the beanie.
It is easy and fun and fast!
Below the original beanie I saw online from a knitter named Ursula Barth. I counted the rows, and re-knitted the design. The original beanie as you can see is child size. I recreated the beanie in medium adult size.  

July 27, 2023

Beanie in Fair Isle

… all done it looks really nice. The basic helmet liner pattern is from the Knit 'N Style April 210,  magazine. The fair isle pattern's I selected as I was knitting along.